Building a Cycloidal-Drive - because electronics are scary.
Everyone (normal) who has seen a cycloidal drive in action has felt the desire to build one. At least for my definition of normal. For those who haven't seen them, a cycloidal drive is a special type of gearbox with high reduction, and low backlash, making it great for robotic actuators. It consists of a cycloidal disk, an excentric input shaft, and the ring pins (and an output shaft with rollers that fit into pockets in the cycloidal disk). Explaining it's operation in text is probably a horrible idea, so instead, here is a graphic from the Wikimedia:
Meanwhile, for last C3 I decided to build a small robot, since I couldn't bring the big one. You can find the post about it (If I made it yet) here. It however, had a problem with overheating. The motor of the first axis would get worrysome toasty. However, the controller (or maybe the firmware) only allowed turning of motor current to all or none of the motors. If I did that, the second axis would tip over, since of course there is force acting on it.
The obvious solution: use better software or electronics build a cycloidal drive, so I can use lower motor current, and need more force to backdrive the system.
The Problem: It needs to be small. It needs to fit on a NEMA 11 motor. Thats ~28x28mm :/. The shorter the better. And something like a 10:1 reduction would be nice.
So I got to designing. And a few hours later I had a CAD model, that seemed alright.

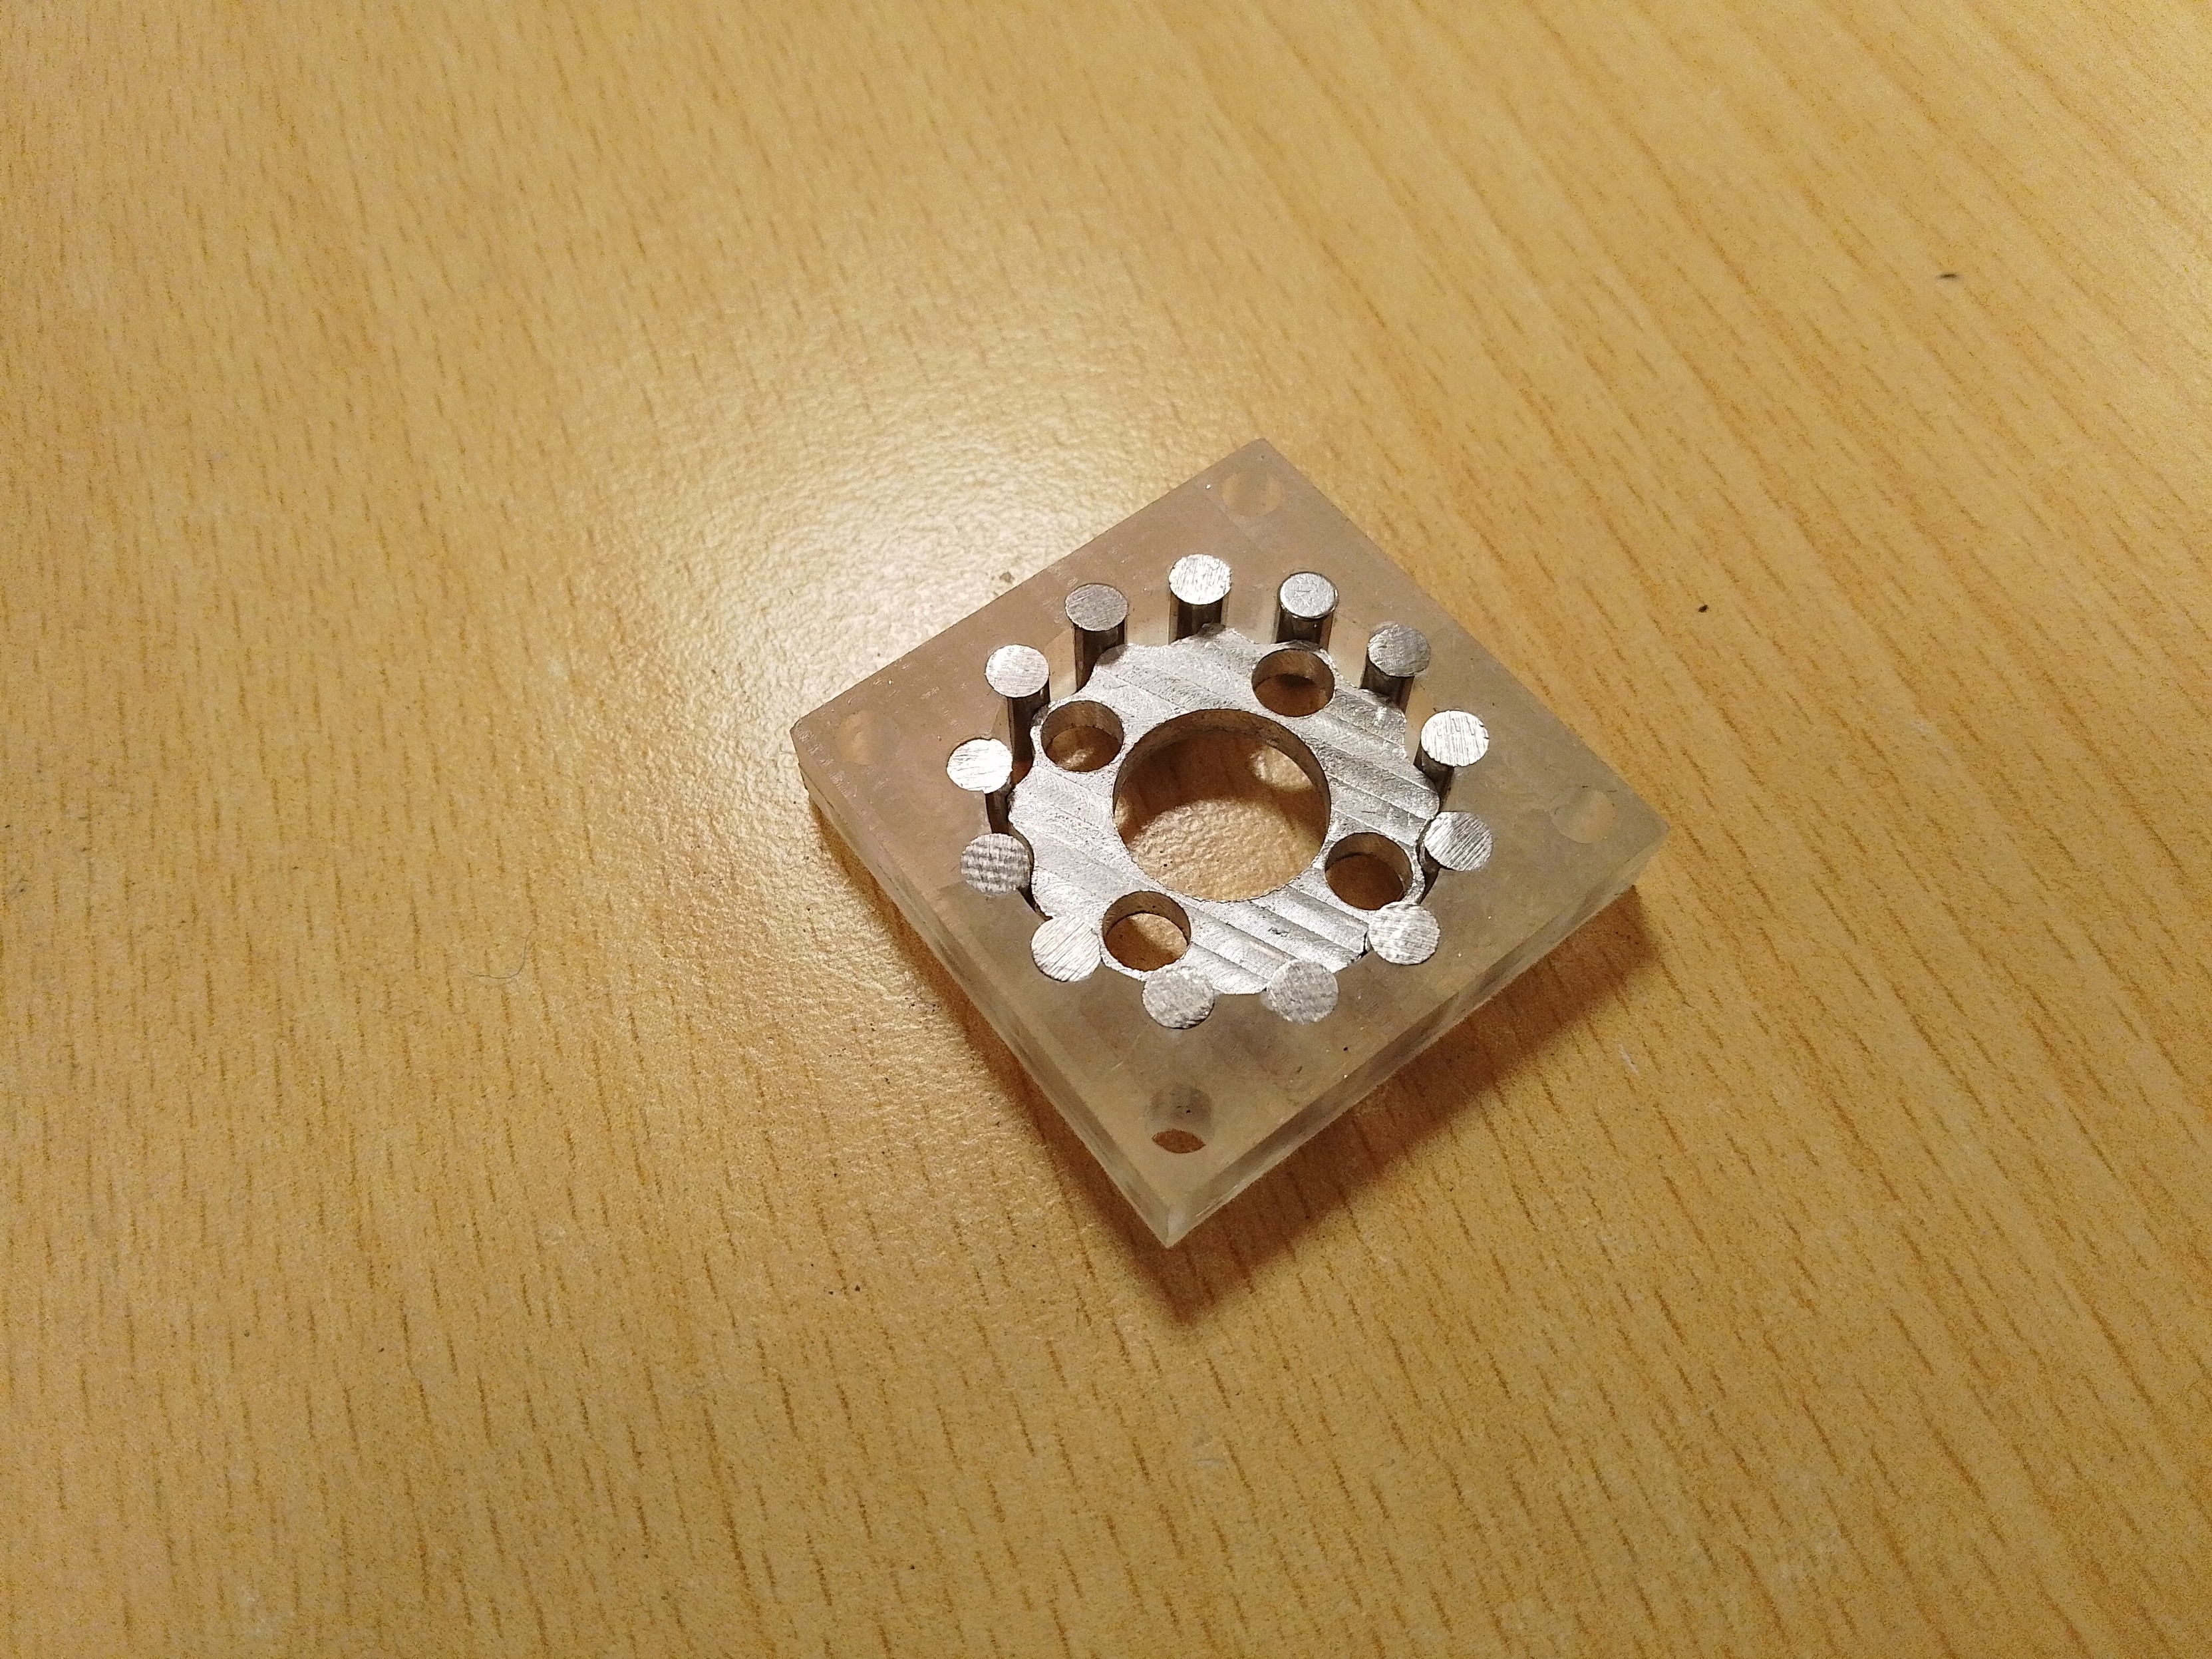
But alright is not a very exact term. The holes for transmitting the output torque were worrysome close to the edges, and without increasing the size of the disk, reducing excentricity, using smaller pins or finding smaller bearings to use, there wasn't much I could do. (ominous foreshadowing) So, since everything else on the robot is 3D printed, I decided that milling them out of aluminium would need to suffice.
The pins were made of 3mm steel rods, salvaged from an old DVD-Player. Cut to rough length with a dremel, and then filed to exact length (+/-0.05mm) with a little fixture
And so, the first fitup of the disk in it's new home was done. It was however very tight. It moved, however, during assembly the sharp corners of the steel dug in and even took a small chip at a couple spots of the aluminium disk. So for a rev2 looser tolerances were definetly in order.
Also, after a while the material I had milled the housing from, started to crack, so I ended up remaking it in a more ductile plastic.
After buying the (absolutely miniscule) bearings and milling the endcaps, as well as the output carriers, I was ready to assemble. And what a struggle that was. The first disk and side was easy enough, but getting the second disk on seemed completely impossible.
And here the ominous foreshadowing concludes. Cycloidal drives usually have two or more disks, phase shifted to reduce vibrations. And a 180° phase shifted disk, would need 180° phase shifted pockets for the output rollers. Yeah- the pockets that are already uncomfortably close to the outside profile. So..... a second disk would not fit. Not with this design anyways.
But, undetered, I decided to at least finish what I had started. I wouldn't be able to show a nice finished project at GPN22, but I still could get it to work, just with vibration and a lot of friction. So, I assembled the mechanism, clamped everything down nice and tight and started turning. It took a LOT of force, and the output wouldn't move. I had broken the cycloidal disk. The wall thickness was too small. But with some more carefull use, a new disk and qutie a bit of frustration, I got it running.
I definetly want to revisit this at some point, but I'll have to pretty much redesign the entire drive, probably to use 2mm pins, instead of 3mm, and those I'll have to get first. So look out for an update on this page :3